
Organize and Manage Your Devices Efficiently
Follow these steps to create groups in Senturo and organize your devices.
Steps to Create Groups
1. Navigate to the Devices Section
- Log in to Senturo:
- Use your credentials to log in to the Senturo dashboard.
- Access Devices:
- On the navigation menu, click on "Devices".

2. Select the Filters Drop-down
- Open Filters:
- Within the Devices section, locate and click on the "Filters" drop-down menu.

- Within the Devices section, locate and click on the "Filters" drop-down menu.
3. Click on Groups
- Select Groups:
- In the Filters drop-down menu, click on "Groups".

4. Create a New Group
- Initiate Group Creation:
- Once you've selected the Groups option, click on the "Create New Group" button.

- Once you've selected the Groups option, click on the "Create New Group" button.
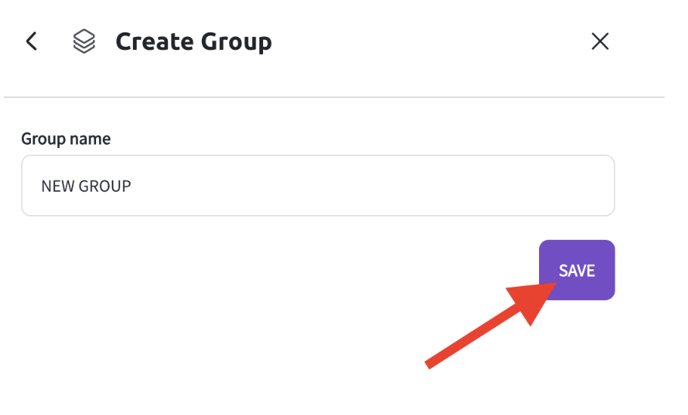
5. Type Group Name and Save
- Enter Group Name:
- In the dialog box that appears, type a descriptive name for the new group.
- After entering the group name, click the "Save" button to create the new group.
Confirmation:
-
- You will receive a confirmation message that the group has been created. The new group will now allow you to add and organize devices.
7. Add Devices to the Group
- Using Mass Action:
- Select multiple devices from the device list.
- Click on the "Move to Group button.

- Select the desired group.

- From Device View:
- Click on a specific device to open its detailed view.
- Select the "Add to Group" option.

- Choose the group to which you want to add the device.

Conclusion
Creating groups in Senturo helps you manage and organize your devices more efficiently.
FAQs
Q: Can I edit or delete a group after it's been created? A: You can edit or delete a group by navigating to the Groups section and selecting the desired group for modification.
Q: Is there a limit to the number of groups I can create? A: There is no limit on the number of groups you can create.